Total Pageviews

Saturday, September 13, 2014

Roast Chicken Made Easy


Roast Chicken Made Easy


Roast chicken... two simple words that evoke images of comfort, warmth, delicately crisp, golden brown skin, finger-licking chicken juices dripping down your chin… Okay, enough of that. Go take a cold shower.

While this dish can be so simple — and great to have in your dinner repertoire on cold, wintery nights — it seems that roast chicken nirvana lies just beyond the grasp of many home cooks.
Here are a few tips to take your chicken to the next level:

1. Spatchcock your chicken.
Wait, come back! It’s a lot easier than it sounds and makes an enormous difference. Starting with a whole bird, take any innards out from the cavity and discard them. Flip the bird onto its breast. With a sturdy pair of kitchen scissors, cut from tail to neck just to the left, then just to the right of the backbone to remove it. Discard the backbone or save for chicken stock. Flip it back to breast-side up and push down on it to flatten. That's it!

In this "butterflied" state, the chicken will cook faster, the skin will crisp up better (no steamy, pale "under" parts), and the breast and dark meat will finish cooking at the same time. Bonus: when it’s time to serve, it’s super easy to hack it up into neat, individual pieces, instead of wrestling with a roly-poly, trussed up bird (as entertaining as that would be to watch).


2. For better browning and crisping, start at a moderate heat.
Begin cooking your chicken at about 375 degrees F, until the breast meat is roughly 125 degrees F (about 40 minutes for a 5 pounder), then blast it for the last 20 minutes at a super high heat (475 degrees F) or until the breast meat reaches 165 degrees F. For an extra pop of roast-y, toast-y color, you can even broil it on high for a couple of minutes.

3. Season the heck out of your chicken.
Don’t be afraid of salt. Chicken is a mild bird; even the highest quality chickens are still fairly tame in flavor. Use your seasonings liberally on the inside and outside (or top and bottom, in this case), particularly on the breasts, which have a much lower ratio of skin to meat than the thighs and drumsticks.

4. Switch up your seasonings.
I love slathering the whole bird with softened butter, finely chopped garlic, whatever herbs I have lying around, lemon zest, and lemon juice, but when I'm feel frisky, I'll use a rub of chili powder, lime zest, lime juice, cumin, brown sugar, and cayenne or I'll brush the chicken with a potent mixture of coconut milk, soy sauce, and Thai red curry paste.

5. Do NOT cover it with tin foil once it's out of the oven.
Why did you just work so hard to get that skin crisp if you're just going to steam it all away? Let the chicken rest, exposed, for 10 minutes before serving. Trust me, it'll still be plenty hot when it lands on your plate.

To round out the meal, throw a bunch of seasoned, 1-inch chunks of veggies — carrots, Brussels sprouts, red onions, parsnips, and potatoes come to mind — under the chicken for a satisfying, one-pan meal.

Another of my favorite ways to serve roast chicken combines memories of my honeymoon in Paris with one of my favorite guilty pleasures: frozen shoestring fries. Serve the roast chicken with a pile of golden frites and a simple green salad for a meal that’s très Parisienne.
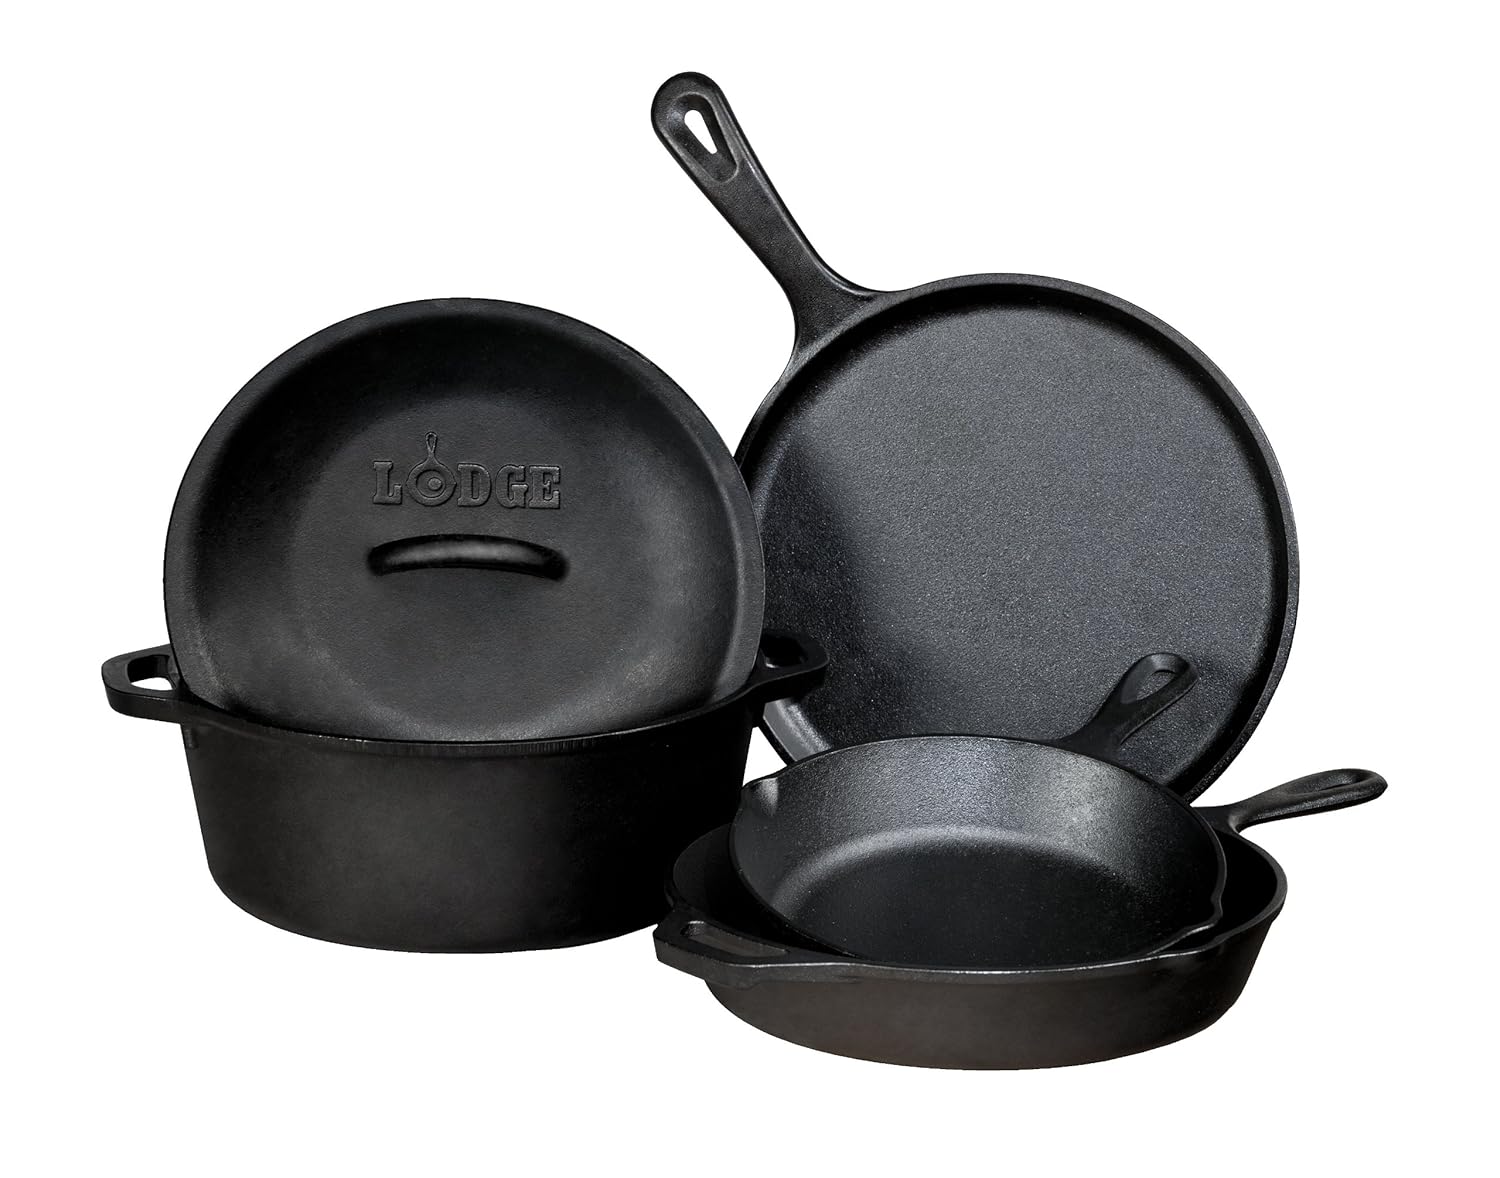
How to Maintain Cast Iron Cookware


How to Maintain Cast Iron Cookware


No other piece of cookware seems to incite greater debate and even panic over its care and maintenance. To soap or not to soap? What's the best way to season it? And what about store-bought pans that claim to be pre-seasoned?

Read below for our definitive guide on how to wash, season, and maintain your cast iron treasures.

Wash with soap only once. When you purchase a piece of new or used cast iron cookware it's okay to use mild soapy water for the first washing, but that's it! Avoid harsh soap and scouring pads thereafter because they can remove the seasoning you'll be trying so hard to achieve. And don't even think about running your pan through a dishwasher.

Season your pan. No, we're not talking about salt and pepper here. "Seasoning" on a pan is fat or oil baked into the iron, which helps create a natural non-stick coating. The more you use your pan, the more seasoned it will become.

To season, preheat the oven to 300°F. Place a layer of foil on the bottom rack of your oven and the pan on the top rack. Heat the pan for 10 minutes and remove. Using a cloth or paper towel, coat the pan with about 1 tablespoon of vegetable shortening, lard, or bacon grease. You can use vegetable oil as well but it can create a coating that feels sticky. Place the pan back in the oven for another 10 minutes. Remove and pour out any excess fat or oil. Turn the pan upside down and return it to the top rack of the oven (position it over the foil to catch any drips). Bake for 1 hour, turn off the oven, and let the pan cool in the oven. Repeat this process often to maintain and intensify your pan's seasoning. Some new pans are labeled "pre-seasoned" but we recommend seasoning them at home as well to create a stronger seasoning bond.

Get cooking! Cast iron cookware is great for everything from pan-searing pork chops to baking cornbread. With new pieces, we recommend starting off with foods with a high fat content (like bacon) to help with the seasoning process and solidify the non-stick surface.

Note: never store food in cast iron. Acids in food can break down the seasoned surface.

Keep it clean. We don't recommend letting your cast iron soak. Wash your (preferably still warm) pan with hot water and use a sponge or stiff non-metal brush to remove cooking residue. To slough off tough bits of stuck-on food, pour a cup of coarse kosher salt into a still-warm skillet. Squeeze a folded kitchen towel with tongs and scrub the pan with the salt. Toss the salt and rinse the pan with hot water.

Dry it completely, every time. Moisture is the enemy. Not properly drying your cast iron can cause it to rust. So after rinsing, dry it well and place it on the stove-top over low heat. Allow to dry for a few minutes, then use a cloth or paper towel to rub it with a little shortening, lard, bacon grease, or vegetable oil. Heat for 5 to 10 minutes, remove from heat, and allow to cool. Wipe with another cloth or paper towel to remove excess grease.

Store it carefully. Keep your cast iron cookware in a dry place with the lids off to avoid rusting. If rust appears, scour your pan with steel wool to remove it and re-season the pan.

Friday, September 12, 2014

Simple and Delicious Marinara Sauce


Here is a tried and true recipe for Marinara Sauce from Scratch


Ingredients

1/4 cup extra-virgin olive oil
2 large cloves garlic, thinly sliced
2 28-ounce cans crushed tomatoes with their juice
2 14 1/2-ounce cans diced tomatoes with their juice
1 teaspoon kosher salad
1 sprig fresh basil plus
1/2 cup loosely packed basil leaves, torn into small pieces

Preparation

Heat a large, heavy pot over medium-high heat. Add the oil and heat until shimmering, almost smoking. Add the garlic and cook, stirring, until golden and fragrant, about 30 seconds. Stir in the tomatoes, salt and basil sprig. Keep cooking and stirring until the sauce comes to a boil then lower the heat and simmer, stirring occasionally, until the sauce is thickened and richly flavored, 15-20 minutes. Adjust the seasoning with more salt, if necessary, and stir in the basil leaves.

Use the sauce in other dishes, toss with the pasta of your choice or use as a dip for fried foods. Extra sauce may be refrigerated in an airtight container for up to 2 days or frozen for up to 1 month.

Wednesday, September 10, 2014

How to Tell If Your Spices Have Expired


How to Tell If Your Spices Have Expired


The shelf life of a spice is determined by the concentration of steam volatile oil. The higher the percentage, the longer the spice will last.

This oil remains in whole spices for a good period of time, from three to five years; some, like whole nutmeg, last even longer. Once we grind the spices, we have broken open the cell walls, the oils begin to dissipate, and the clock starts ticking. So we say the general rule of thumb for ground spices is one year.


Even though some of our customers request ground herbs, we do not like to do this, as the flavor will most likely be gone in several months. Dried herbs are easy to grind yourself, so we recommend that you grind just what you need for that dish right before cooking.

Smell and taste. Fortunately, old spices will not make you sick, which is why you don't always see expiration dates on them. Old spices will just cease to deliver any flavor. Put a little in your mouth and give it a half minute. If you get nothing, it is time to replenish.